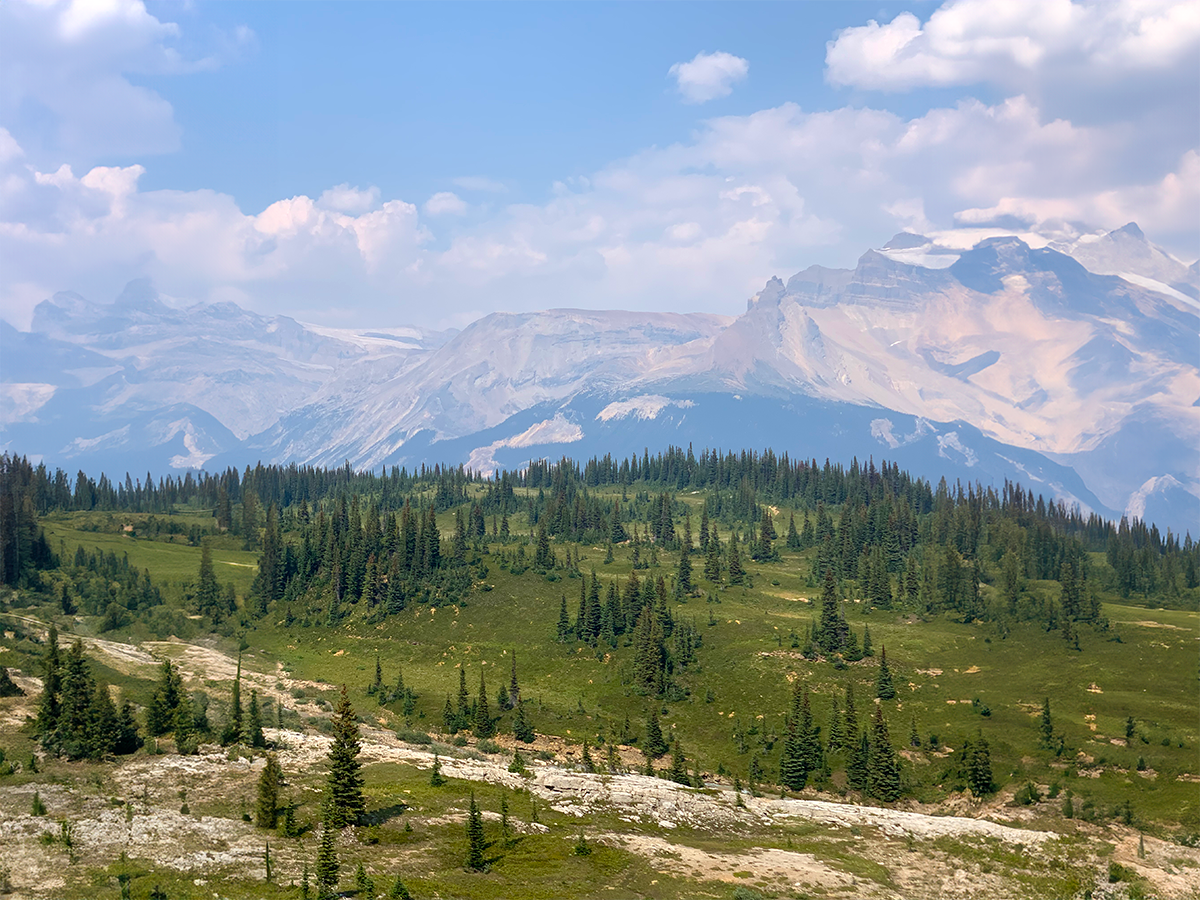
Hiking the Iceline Trail in Yoho National Park will be the highlight of your year!
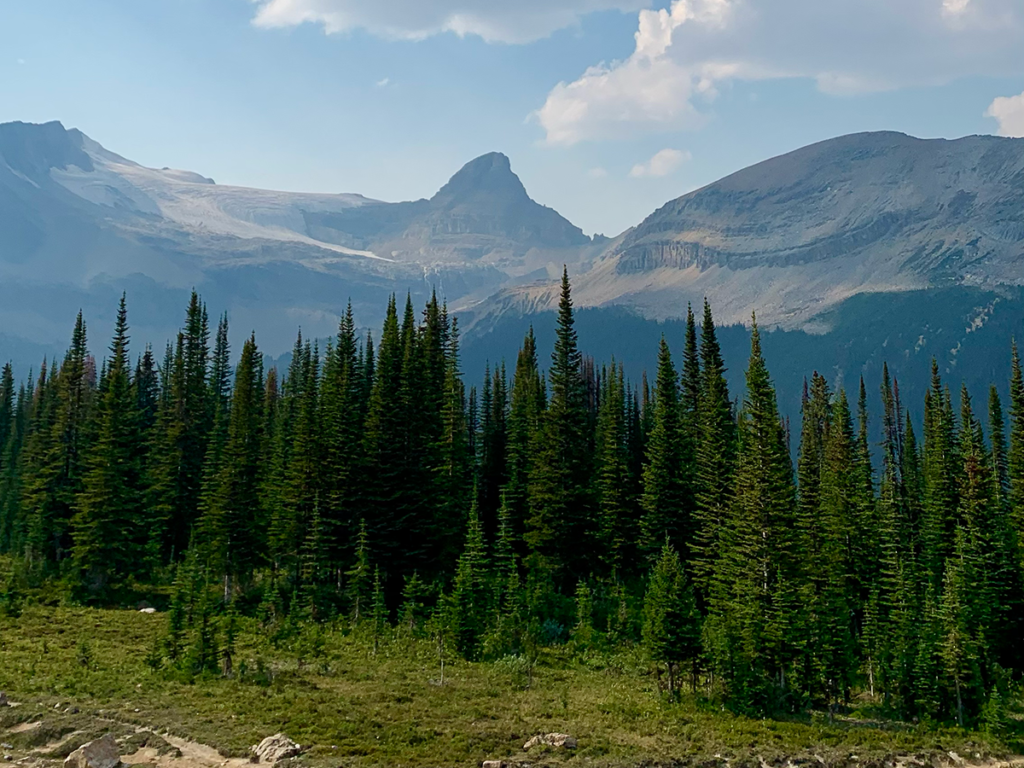
This moderate to challenging trail offers stunning scenery! From epic waterfalls to massive glaciers t0 valleys overflowing with wildflowers.
The trail can be hiked a couple of ways depending on how much time you have. A there-and-back or a loop (you can hike it in either direction) and no matter which way you choose, you’re guaranteed to see the epic Takakkaw Falls, rivers, mountain views, expansive valleys, wildflowers, glaciers, and a few tarns (a pooling of water created from glacier melt)! It’s spectacular!
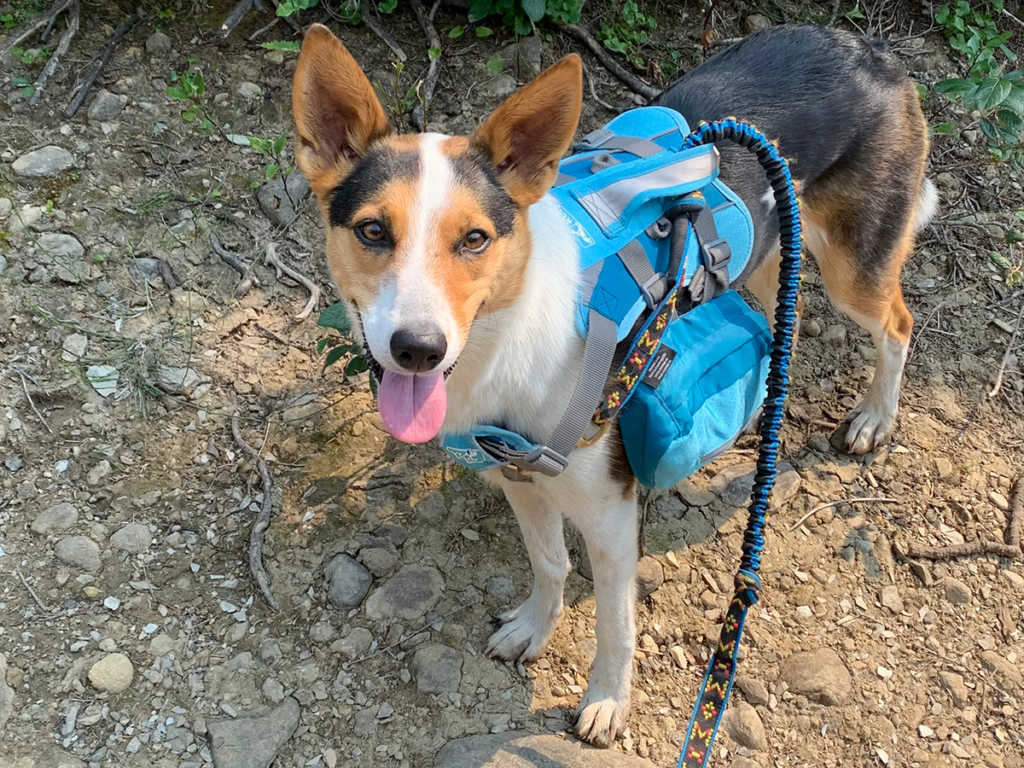
Plus, it’s dog-friendly! Expect crowds though, as it’s a popular spot for hikers and campers alike.

- What You Need to Know About Hiking The Iceline Summit Trail:
- Being Safe and Responsible when Backcountry Hiking:
- The Iceline Summit Trail Experience
- Getting to the Trailhead
- Spotting Flora & Fauna on the Trail
- Preparing to Hike the Iceline Summit Trail
- What You Need to Know About Hiking The Iceline Trail: Continued!
- Get to Know Yoho National Park:
- The Best Time to Visit Yoho National Park:
- Exploring More of Yoho National Park
What You Need to Know About Hiking The Iceline Summit Trail:
Quick Stats:
- Moderate to Difficult
- There-and-back: 13.6km (8.5 miles)
- Loop: 21.1km (13.1 miles)
- 501m (1,643ft) of elevation gain
- 2 days to complete (can be done in a day)
- Well-maintained natural trail, the alpine area is quite rocky, sometimes steep
- Dog-friendly 🐶
- Parking and, if backcountry camping, reservations + permits are required
Location:
Trail Map and Elevation Profile:
Being Safe and Responsible when Backcountry Hiking:
Bear Safety
Seeing bears is both exhilarating and slightly terrifying depending on where you see them. From your car: exhilarating, amazing, 10/10! But from the trail, it can be a little scary.
While bear encounters are relatively rare, it’s crucial to prepare yourself by learning to identify grizzly vs. black bears, minimize your chances of encounters, and react safely if do have an encounter and always carry (and know how to use) bear deterrents.
Check out my post 5 Essential Bear Safety Tips You Need to Know to learn more!
Leave No Trace
Just like that old saying goes, “Take nothing but pictures and leave nothing but footprints!”. Practice responsible hiking by carrying out all of your trash (including stranger’s garbage and/or your dog’s waste!), staying on designated trails, and respecting wildlife and plants!
As wandering nature nerds, we want to leave the land better than we found it.
Want to know more about what it means to leave no trace? Check out my post 7 Ways to Leave No Trace When Exploring the Great Outdoors.
The Iceline Summit Trail Experience
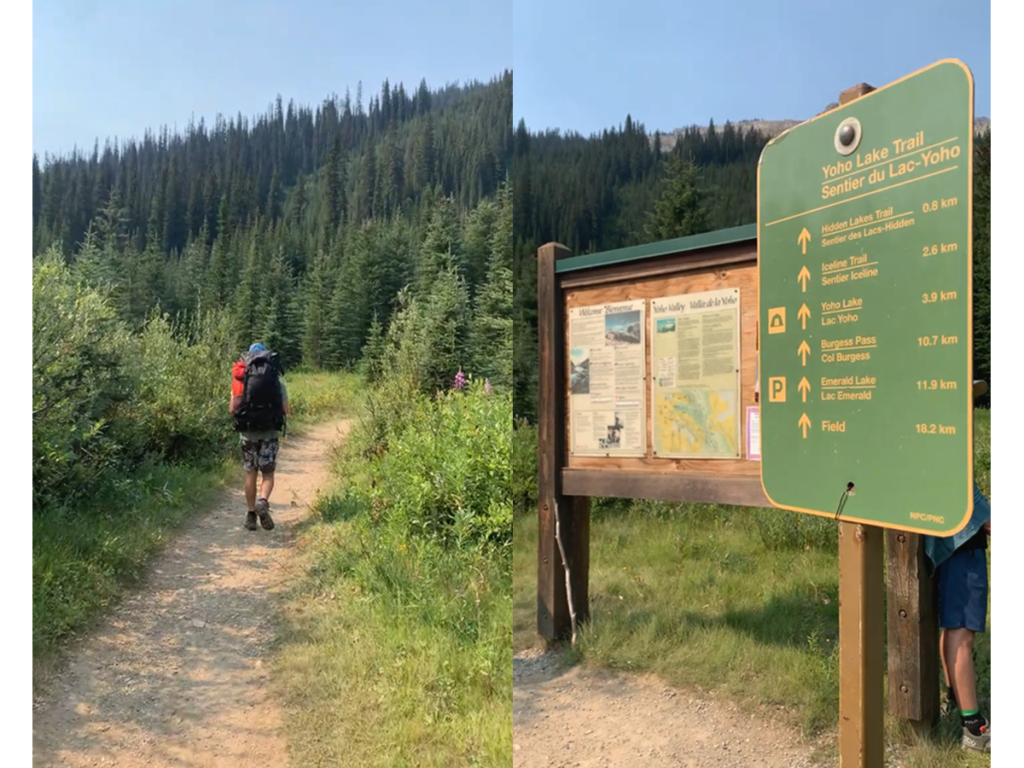
Getting to the Trailhead
Driving Up Yoho Valley Road
Once you’ve entered Yoho National Park, you’ll have to turn off of the Trans Canada onto Yoho Valley Road. This might be a controversial opinion but I think this road is one of the most beautiful drives in the world! It’s a long, steep, twisting road leading you deep into the mountains that’s only open in the warmer months when the snow has cleared away. Exciting!
The road is about 13km (8.5 miles) long and has lots of narrow switchbacks – so be sure to have a full tank and don’t drive anything too large up the road! I saw lots of drivers struggling to make the switchback turns in pickups and large SUVs. Small cars or small SUVs are the way to go on this road!
Finding Parking
I’m going to be honest – parking was a bit chaotic here! The main parking lot is at the base of Takakkaw Falls which is an extremely popular tourist destination.
Try to arrive as early as possible to reduce parking stress. The parking lot was full when we arrived by 11:30am. We drove a couple of laps around the parking lot before deciding to drive back down the road towards Whiskey Jack Wilderness Hostel and parked along the edge of the road. We didn’t know if we’d be ticketed for parking along the roadside, but we needed to get on the trail so we took the risk!
When we returned to our car the next day, we didn’t have a ticket waiting for us! Yay! But just keep in mind that this could be a possibility.
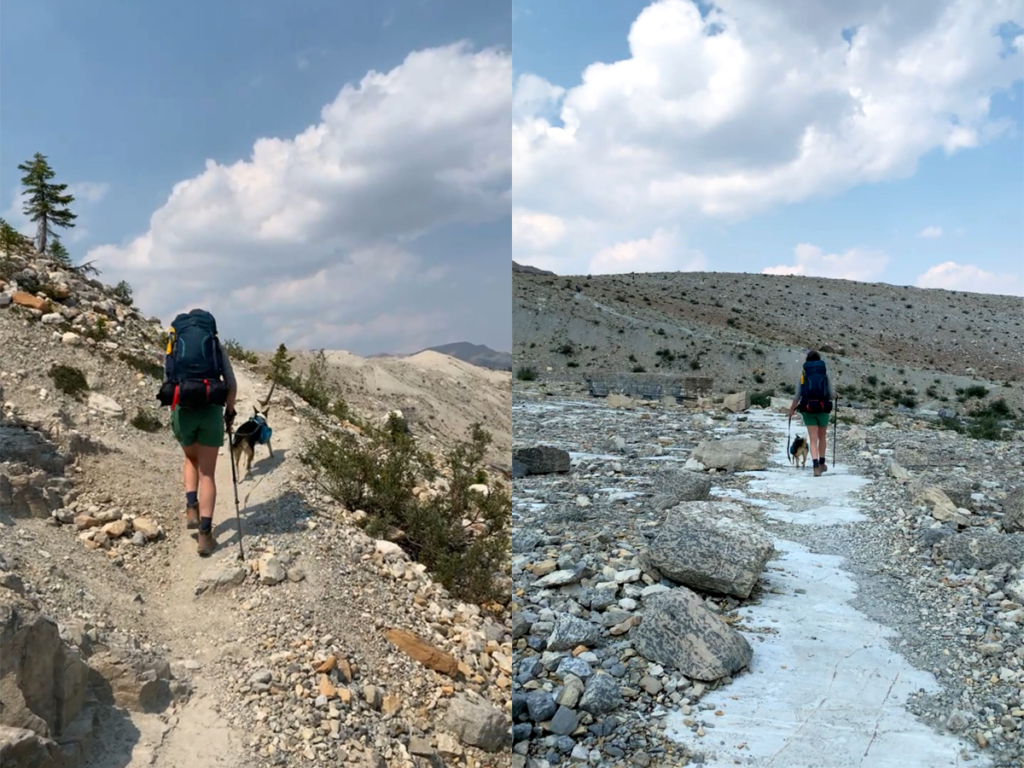
On the Trail: Day One!
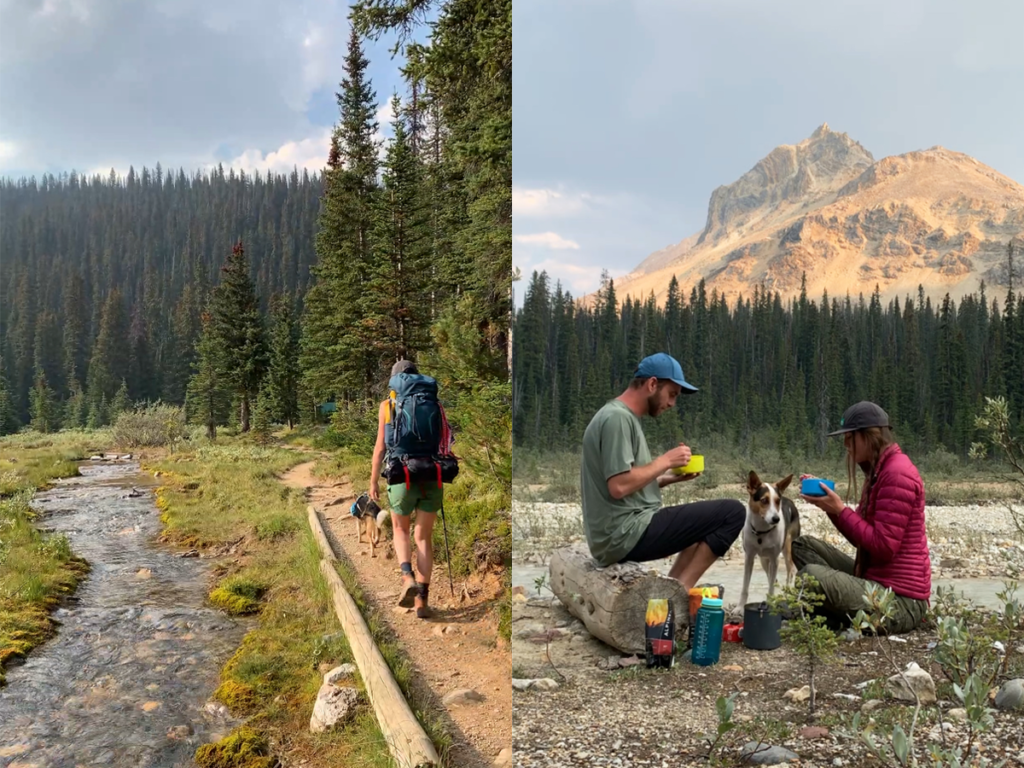
During Day One we hiked from the trailhead to Little Yoho Valley Campground (roughly 14km).
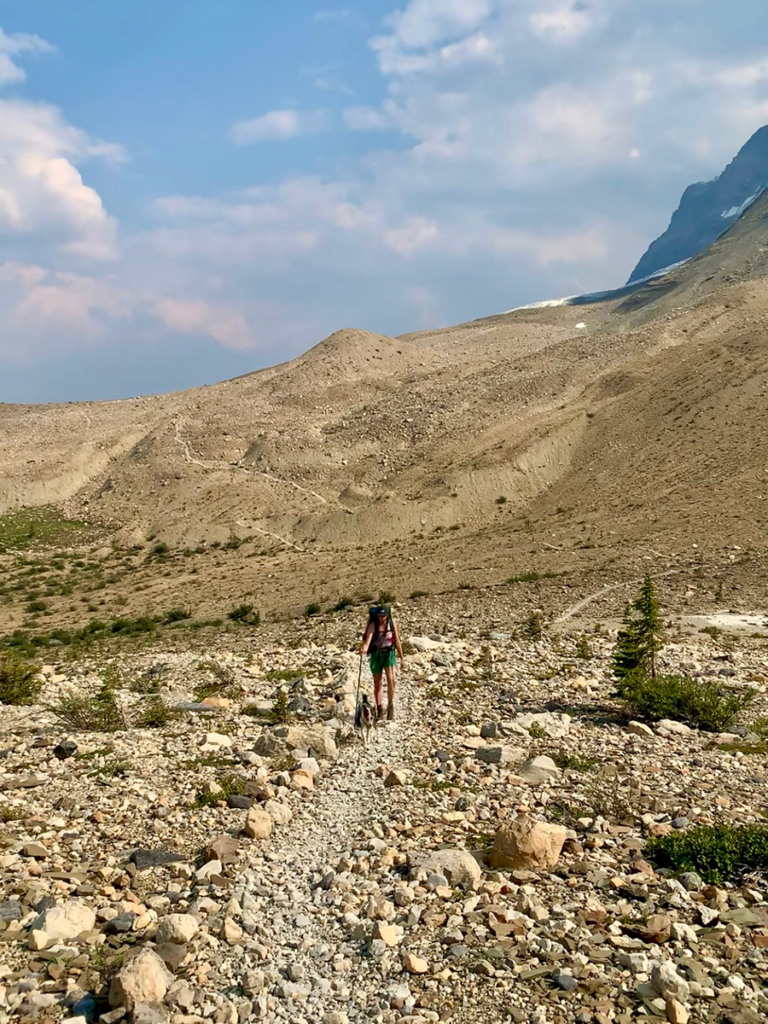
The Iceline Trail conditions were awesome! Dry, easy to follow, and with plenty of signage. The initial ascent was steep (about 2.5km), but once you got above the treeline, it smoothed out for a scenic walk. Heads up though: it’s exposed, so pack sunscreen, hat, and shades.
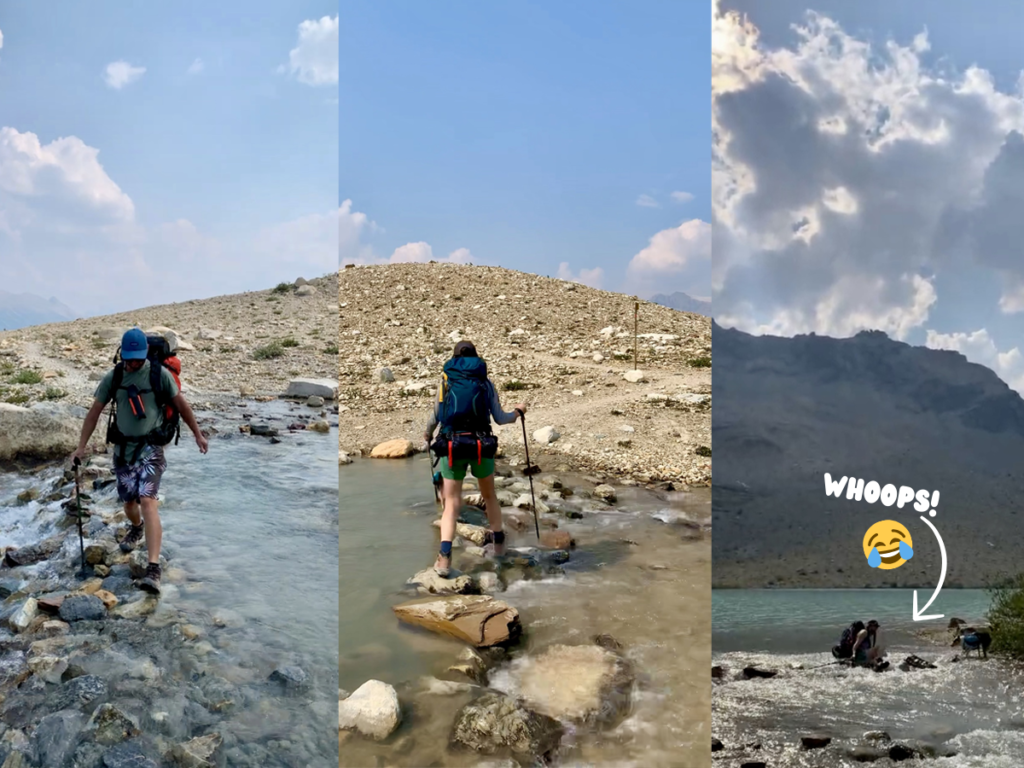
Stream crossings were mostly shallow, but watch out for a trickier one near the end of Day One. I learned the hard way with a big splash, but no harm done—just wet boots! Hiking poles and spare socks come in handy for such surprises!
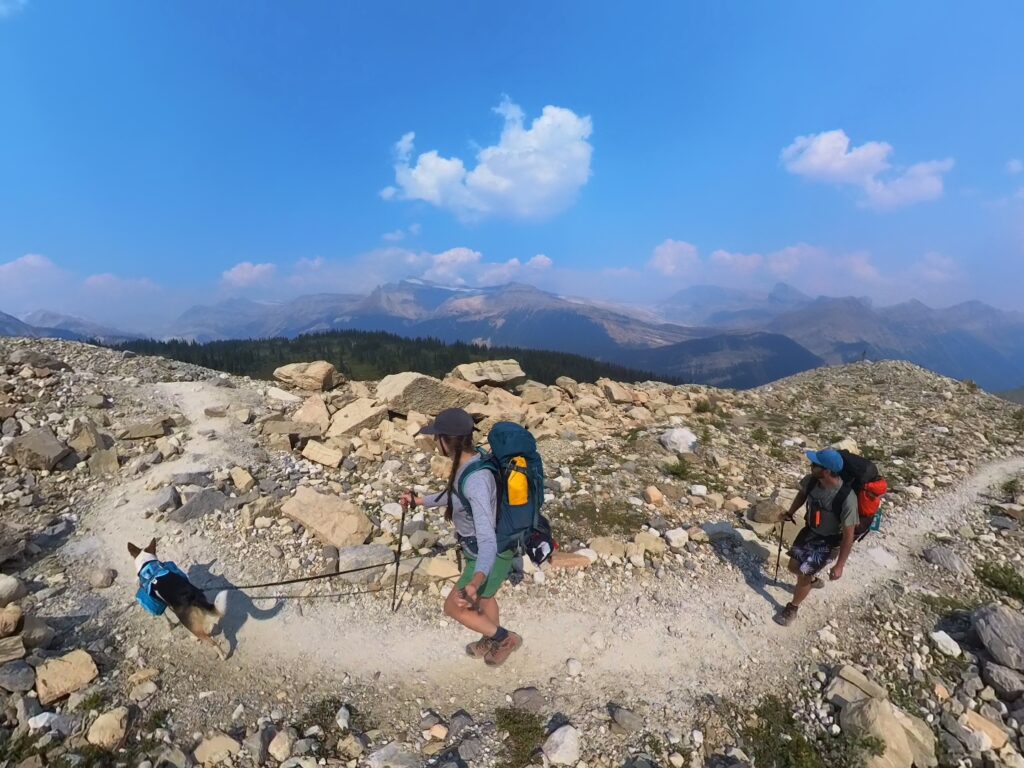
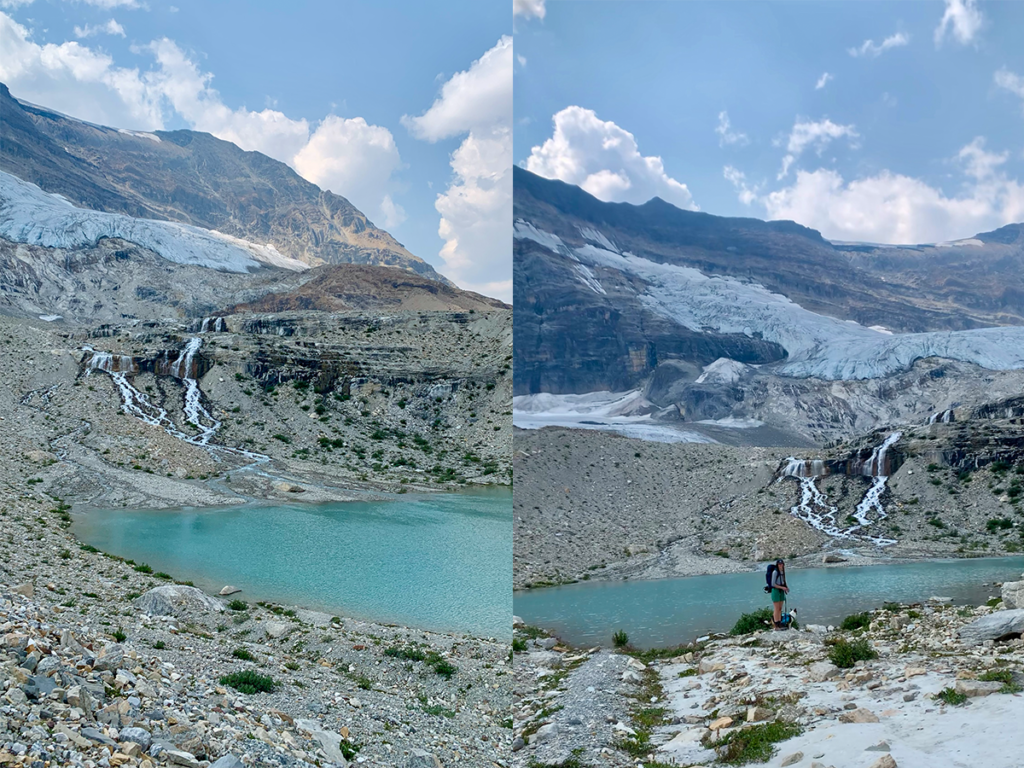
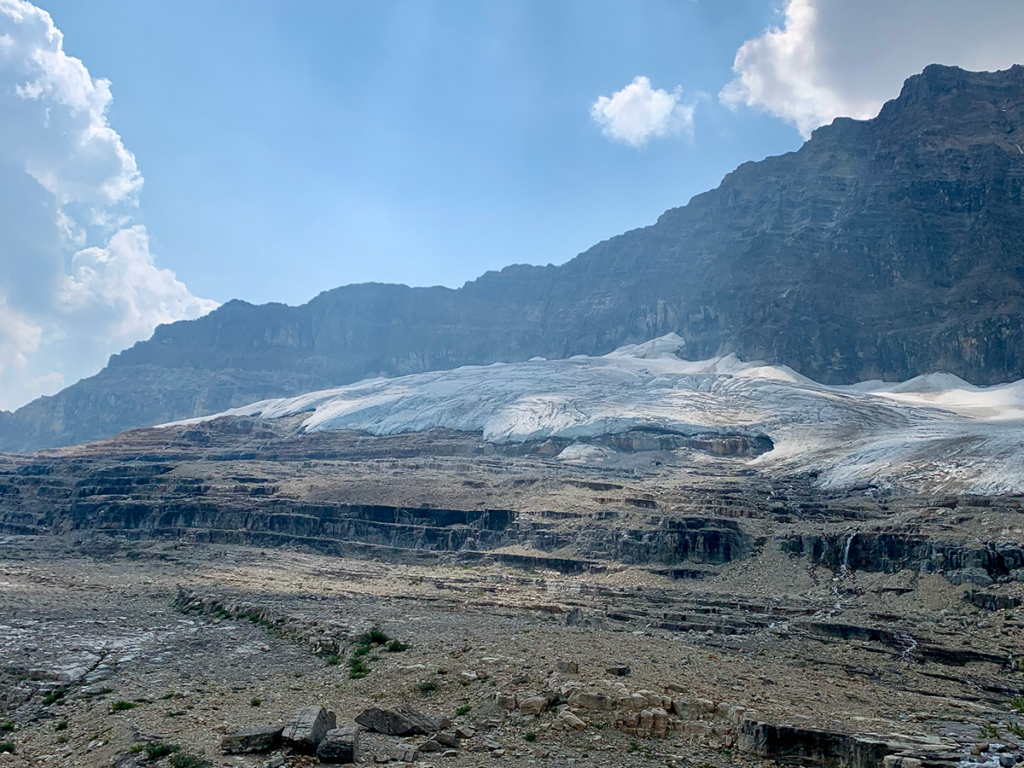
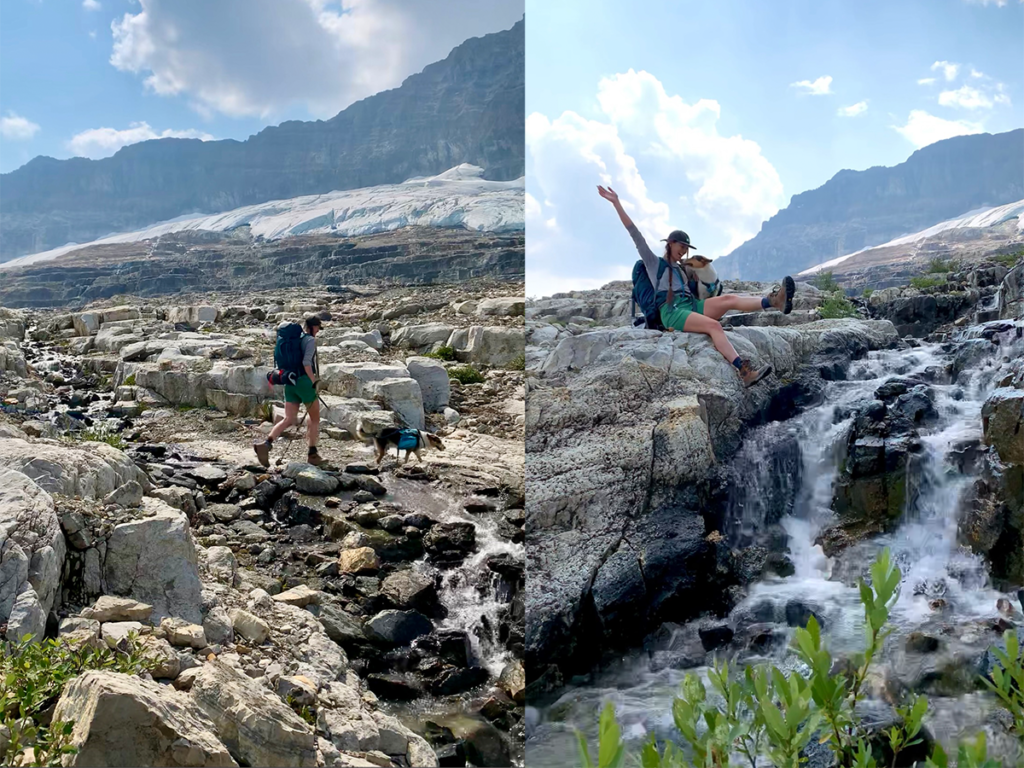
Day One: Don’t Miss These Spots!
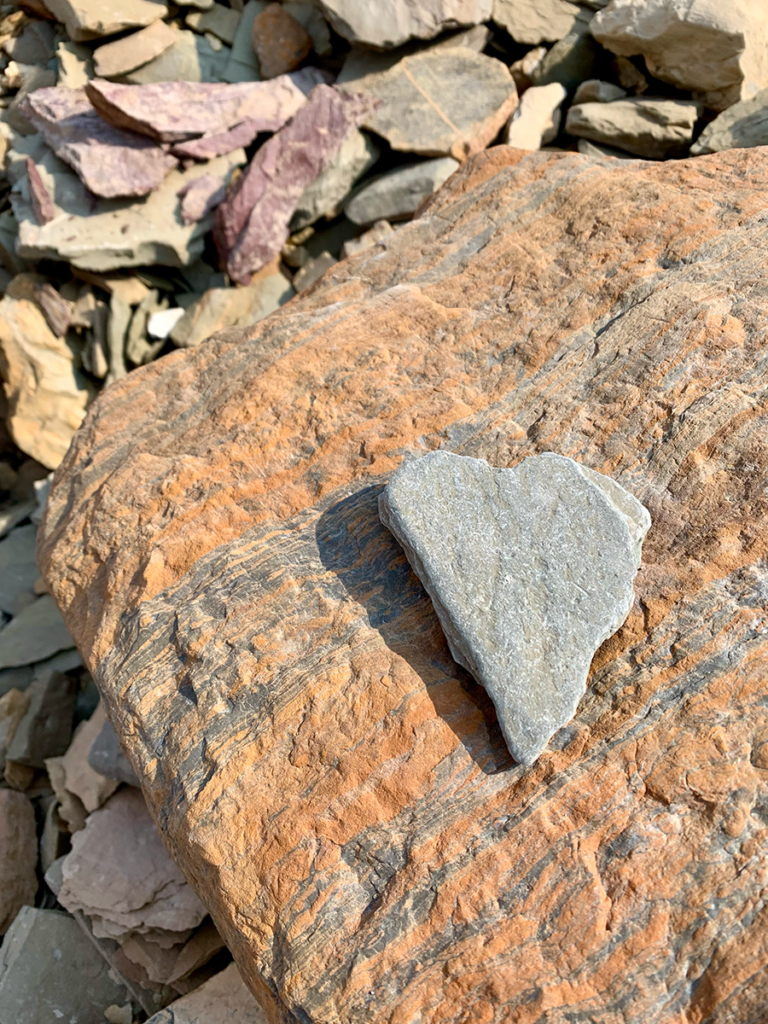
Other than stopping to take in the scenery or stoop down to get a better look at a pretty wildflower or cool rock, there were two must stop spots along this section of the trail.
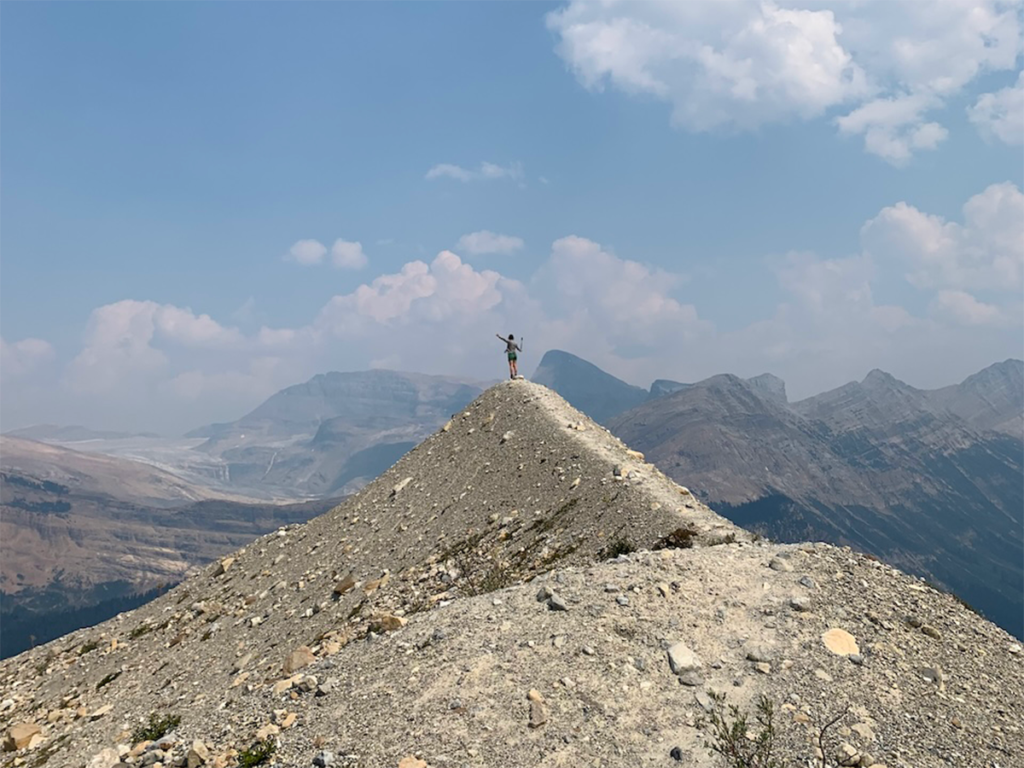
Spot One: the Iceline Trail Summit! About a third of the way through the hike there’s a trail that spurs off to a high rocky outcrop. This is the highest point of the trail and offers some stunning 360-degree views! I recommend checking this out, snapping some photos and maybe breaking for lunch.
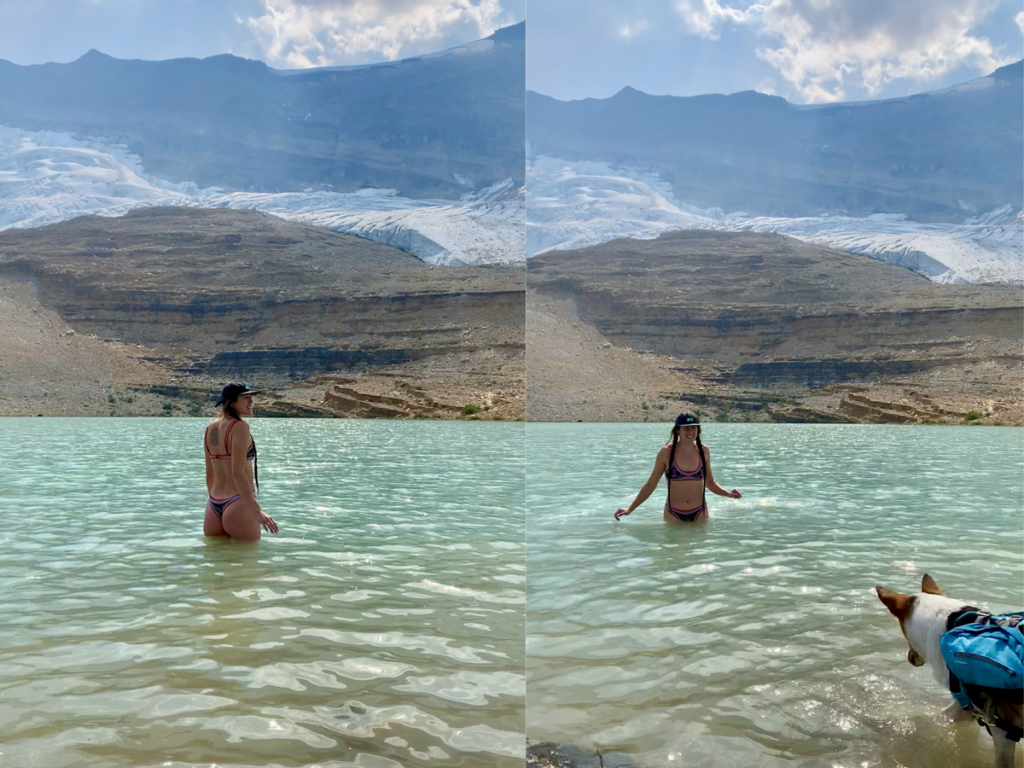
Spot Two: Swimming in the second or third tarn! This hike is fully exposed to the sun so I took a swim break and it was the best decision ever. The water was extremely cold but very refreshing. Heads up: this little alpine lake is created from glacier melt water and has lots of glacier silt in it so the rocks are very slippery. I wore my sandals in so I didn’t slip too much.
Day One: Getting to Little Yoho Valley Campground
After the summit, the trail gently descends into Little Yoho Valley, home to a charming backcountry cabin and campground.
The campground, located a short jaunt west of the Stanley Mitchell Hut, lacks designated sites, offering a more free-form camping experience. Basic amenities include pit toilets, a communal cooking and dining area, and a bear hang for storing food and other scented items. I recommend packing these items in a waterproof sack for easy hanging.
The campground is situated along the bank of a river and offers gorgeous views of the sun setting against The President mountain.
On the Trail: Day Two!
Disclaimer: I forgot my battery pack on this adventure and sadly my phone died! My apologies for the very sparse photo library of our Day 2 adventures.
We started Day Two with a leisurely morning of sleeping in and savouring our coffee before packing up and hitting the trail.
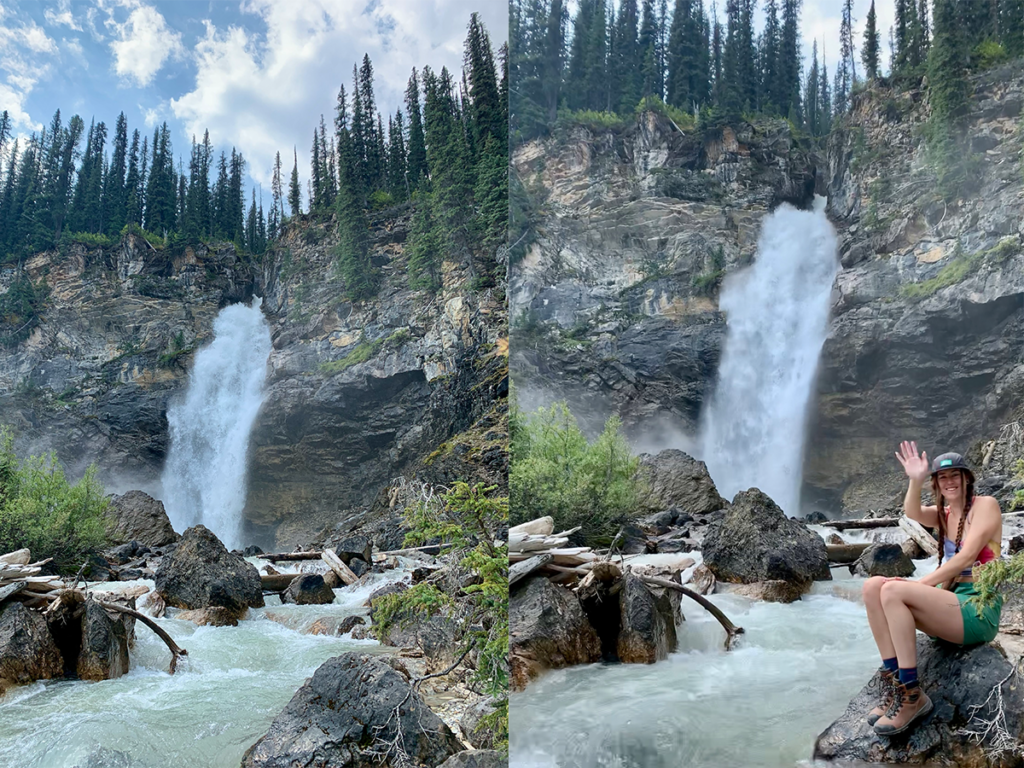
Following the river for about 5km through forests, we reached Laughing Falls and decided to have a scenic lunch break. The trail had gotten busier near the falls and it’s the campground, which left us cherishing the tranquil memories we experienced in the Little Yoho Valley Campground.
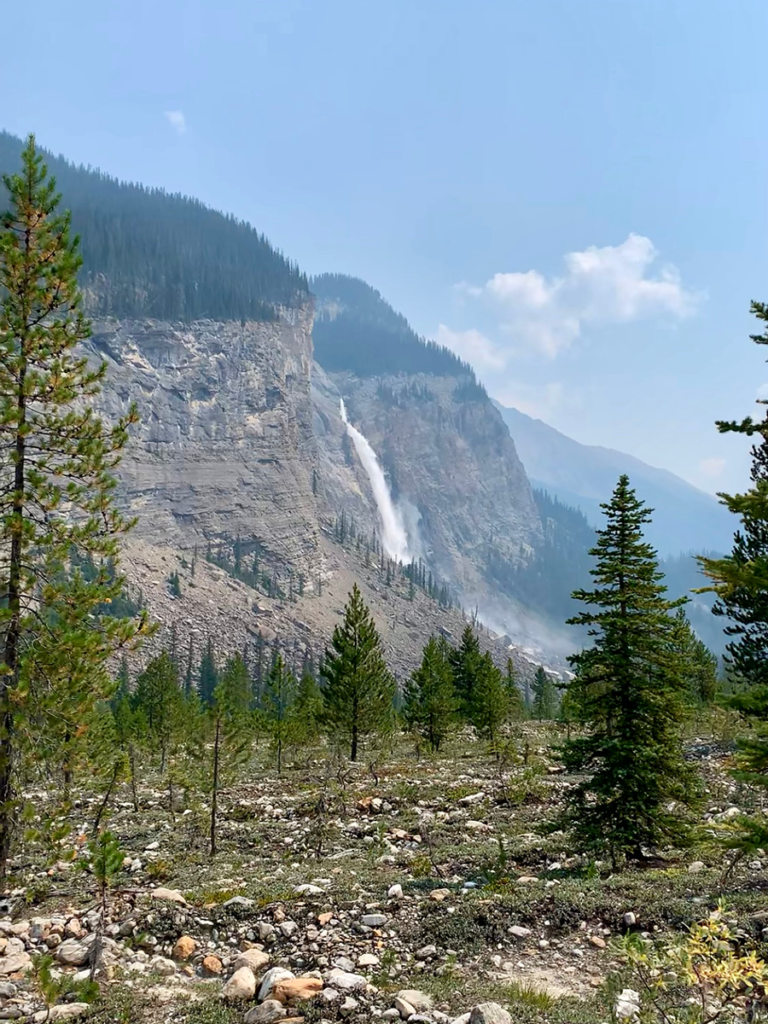
After lunch, we continued toward Takakkaw Falls Campground, where the trail gradually widened and felt so much easier compared to the previous day’s rocky terrain. Descending the rest of the trail rather quickly, we marvelled at the iconic Takakkaw Falls, although the area was bustling with visitors. I’m dreaming of a return visit during the quieter shoulder season!
Spotting Flora & Fauna on the Trail
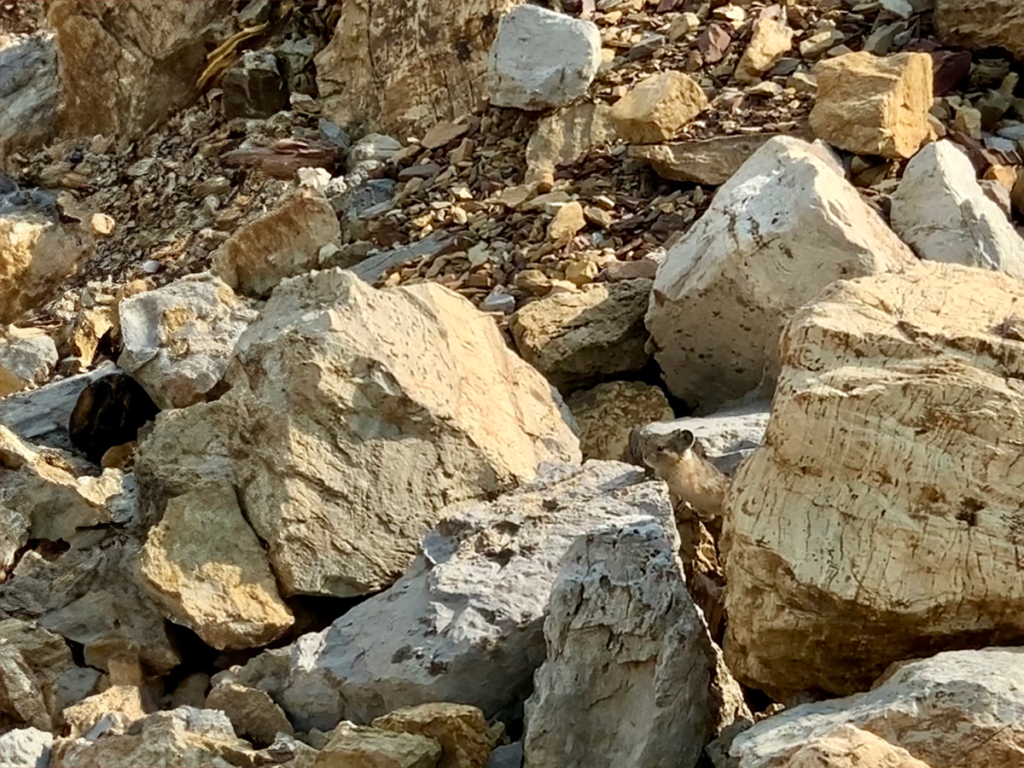
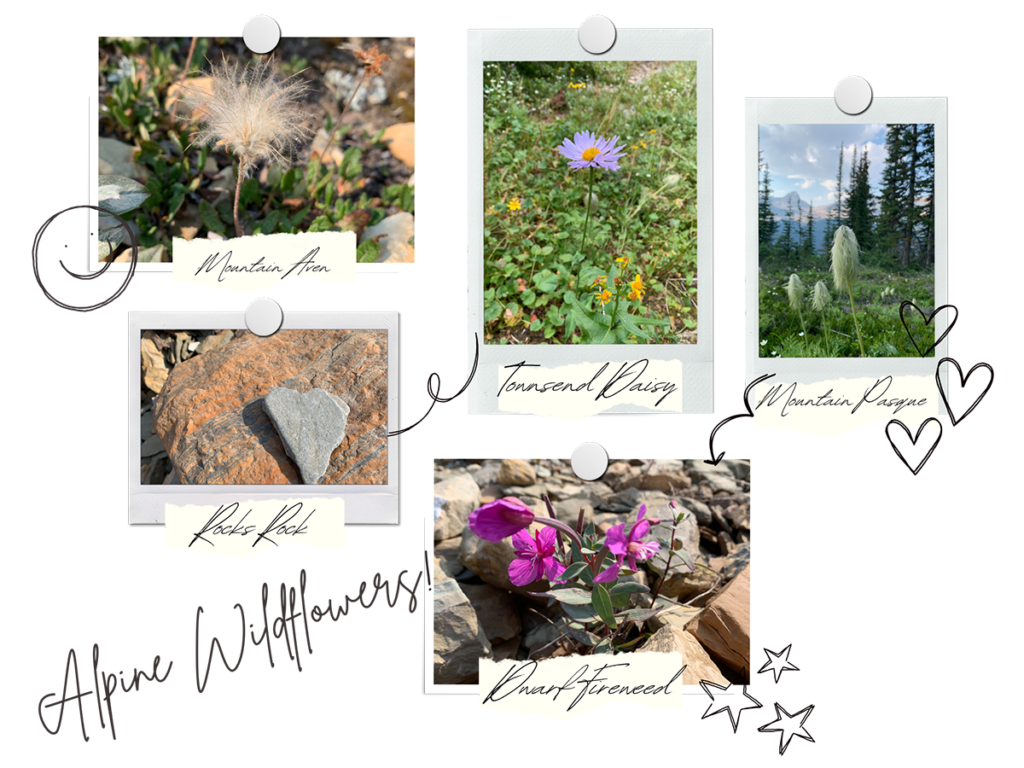
I hiked the Iceline Trail in mid-summer and was gifted with spotting wildflowers such as Dwarf Fireweed, Mountain Pasqueflower, Western Paintbrush and Mountain Avens (to name a few!). We also spotted the elusive Pika!
I definitely recommend bringing a plant identification book and binoculars on your adventures here!
Preparing to Hike the Iceline Summit Trail
What to Pack:
When packing, the main thing to remember is that the weather can change in an instant when you’re adventuring in the mountains. You’ve probably heard the saying “if you don’t like the weather, just wait 10 minutes”. This is the code to live by when you’re packing for mountain adventures!
Packing the 10 Essentials for any hike or backpacking trip is like getting your adventure BFFs together—they’ve always got your back! These essentials aren’t just for emergencies; they’re your go-to crew for staying safe, comfy, and ready for whatever wild surprises the trail throws at you.
Alright, let’s get into your packing list for an overnight backpacking trip on the Iceline Summit Trail:
The 10 Essentials
- Navigation (paper map or on your phone, compass, GPS)
- Headlamp (with extra batteries)
- Sun protection (sunglasses, sunscreen, hat)
- First aid kit
- Knife (or multitool)
- Fire (matches, lighter, and firestarter)
- Shelter (emergency bivy or space blanket)
- Extra food
- Extra water
- Extra clothes (for insulation and weather protection)
Backpacking Gear:
- Backpack (with a comfortable fit and enough capacity for your gear)
- Tent (or a lightweight shelter)
- Sleeping bag (appropriate for the season)
- Sleeping pad (for insulation and comfort)
- Trekking poles (optional but helpful for stability)
Clothing:
- Moisture-wicking base layers (top and bottom)
- Insulating layers (fleece or down jacket)
- Rain jacket and pants (waterproof and breathable)
- Hiking boots or shoes (well broken-in)
- Sandals (to wear in the water or at camp)
- Wool socks (plus an extra pair or two)
- Hat and gloves (for warmth)
- Sun hat (for protection)
- Buff or bandana (versatile for sun, wind, and sweat)
Cooking & Food:
- Lightweight stove (with fuel)
- Cooking pot and utensils
- Biodegradable soap (and a small sponge)
- Food (freeze-dried meals, snacks, trail mix)
- Bear-proof food storage (bear canister or Ursack)
- Water filter or purification tablets
- Water bottles or hydration reservoir
Personal Items:
- Toothbrush and toothpaste (travel-sized)
- Toilet paper (and a small trowel for digging a cat hole)
- Quick-dry towel
- Sunscreen and lip balm (with SPF)
- Bug spray
- Camp sandals or lightweight shoes (for around camp)
- Reusable bags (for packing out trash)
- Camera or smartphone (for capturing the adventure)
- Portable charger (for electronics)
- Book, e-reader, journal, or deck of cards (for downtime)
What You Need to Know About Hiking The Iceline Trail: Continued!
Whose Land Are You On?:
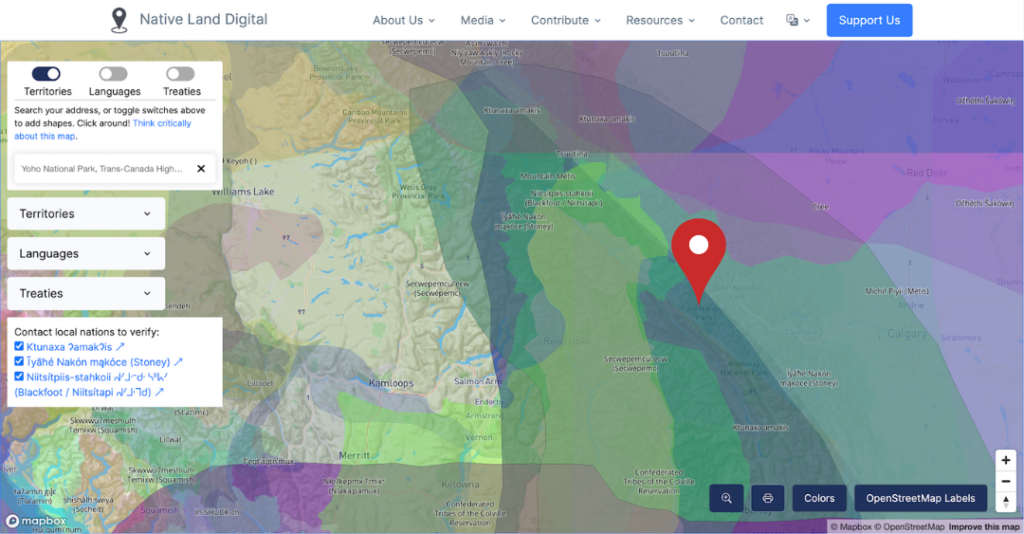
Yoho National Park falls within the traditional territories of several Indigenous nations, including the Ktunaxa ɁamakɁis (Ktunaxa – pronounced ‘k-too-nah-ha’), Ĩyãħé Nakón mąkóce (Stoney Nakoda), Secwepemc (Shuswap), and the Niitsítpiis-stahkoii ᖹᐟᒧᐧᐨᑯᐧ ᓴᐦᖾᐟ (Siksikaitsitapi – Blackfoot Confederacy) nations.
Check out Native Land to learn more!
Native Land Digital is a not-for-profit that has created an awesome interactive map highlighting Indigenous territories, treaties and languages all around the world.
YohoNational Park’s location is highlighted below.
Time Zone Change:
Yoho National Park is in Mountain Standard Time (MST)/Mountain Daylight Time (MSD).
If you’re travelling from Vancouver or the Okanagan you’ll be in Pacific Standard Time (PST) and you’ll cross into a new time zone while driving through Glacier National Park.
If you’re travelling from Banff National Park or Golden, you’ll already be in Mountain Standard Time (MST)/Mountain Daylight Time (MSD).
Keep this in mind when planning your trip!
Required Permits:
For day hiking, you’ll be required to have: a National Park Day Pass – $10.50/person (adult)
If you’re backcountry camping you’ll need: a Backcountry Person Fee – $13.50/person (adult) per night and a Backcountry Campsite Fee – $11.50
Day passes are available online or at the Yoho National Park Visitor Centre in Field, British Columbia. You can find more information about park fees here and more about National Park reservations here.
Road and Trail Conditions:
It’s always a good idea to check out the road and trail conditions before heading out on your adventure!
Check the road conditions with DriveBC.
Check trail conditions with Parks Canada.
Parking:
Parking is available at Takakkaw Fall Parking Lot (punch it into Google Maps and it’ll pop right up). It gets super busy though! It’ll pay off to get to the parking lot/trailhead as early as possible. However, that’s not always possible, so sometimes you have to park on the side of the road. Be wary of ditches and soft shoulders! Park responsibly!
Camping:
You can backcountry camp at several campsites. And if you don’t feel like backcountry camping at Little Yoho or Laughing Falls campsite, there’s a first-come-first-served campsite at Takakkaw Falls (no car camping, tent sites only).
There’s also the option of pre-booking a frontcountry campsite at Kicking Horse or trying your hand at a first-come-first-served campsite at Monarch or Hoodo Creek. Check out the Parks Canada Frontcountry Camping page to learn more.
Get to Know Yoho National Park:
I think it’s incredibly important to learn the history of places you travel to. Sometimes on our travels, we can over-plan and rush through our itineraries. We may tend to snap pictures of pretty views and then move on to the next pretty thing. I’m more than guilty of this!
However, I find that when I take the time to learn the history of the place I’m about to explore it really helps me slow down. Then when I’m there, I can fully bask in the awe and wonder of our world.
Check out my post on the quick history of Yoho National Park.
The Best Time to Visit Yoho National Park:
Generally, the best time for hiking in Glacier National Park is mid-June to mid-September.
- June – generally wet with spring snowmelt and rainfall, by the end of June almost all lower elevation trails are snow-free but expect snowpack to still be present above the tree line.
- July – the valleys are generally in full summer mode and you can expect almost all trails to be snow-free and wildflowers to be popping up everywhere!
- August – Typically the driest month of the year, by mid-August we start to enter the wildfire season so watch out for wildfire reports and air quality reports.
- September – Depending on the type of year you could experience the best hiking conditions ever! But nights start to cool down significantly and there is always a chance of rain and snow.
Exploring More of Yoho National Park
Yoho National Park is one of Canada’s most beautiful places and it has so much to see. I’m planning on visiting this park over and over again to explore trails such as The Burgess Shale Trail (you must have a guide for this one), Emerald Lake Loop and Peak and Lake O’Hara Alpine Circuit.
